🔌 Why Install an Induction Cooktop?
Induction cooktops are faster, more precise, and energy-efficient compared to gas and electric ranges. They’re safer and easier to clean—but professional installation can be expensive. With the right tools and guidelines, you can complete a DIY induction cooktop installation in your home kitchen.
🛠️ Step 1: Remove Your Old Cooktop
- Start by resetting the circuit breaker and unplugging the appliance.
- Carefully remove your existing gas or electric cooktop, then clean and dry the countertop thoroughly.
- If your new induction model is larger, adjust the existing hole by trimming or resizing to fit the new unit.
📏 Step 2: Prepare the Countertop Cutout
- Measure precisely. Compare dimensions from your new induction cooktop’s manual and mark the cutout lines with a pencil.
- Test-fit the cooktop before cutting or trimming.
- Ensure a snug fit—no gaps around the edges—for both safety and aesthetic appeal.
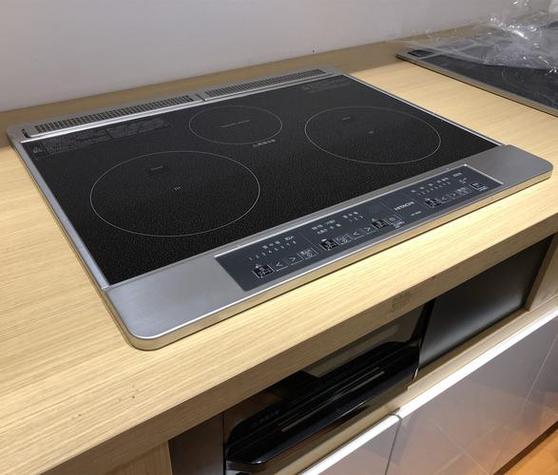
🔩 Step 3: Secure the Cooktop in Place
- Carefully place the induction cooktop into the countertop opening.
- Use the included mounting brackets or holding plates to secure the unit from underneath.
- Tighten screws evenly, following the manufacturer’s torque recommendations to avoid cracking the glass surface.
⚡ Step 4: Wire the Cooktop Safely
- With power turned off at the breaker, connect the cooktop’s wiring following your appliance manual and local electrical codes.
- Typically, wiring includes hot (black), neutral (white), and ground (green or bare copper).
- If you’re unsure or uncomfortable with electrical wiring, consult a licensed electrician to avoid potential hazards.
✅ Final Checks & Safety Tips
- Restore power and turn on the cooktop.
- Start at a low setting, and test each burner to ensure it heats correctly.
- Inspect for movement or gaps, then apply heat-resistant caulk if needed.
- Clean the cooktop surface when cool to remove fingerprints or debris.
❓ FAQ – Installation Insights
Q: Can I DIY install an induction cooktop?
A: Yes—if you’re comfortable with measuring, cutting, mounting, and basic electrical wiring. Otherwise, hire an electrician to ensure safety and code compliance.
Q: What tools do I need?
A: You’ll need electrician’s screwdrivers, wire connectors, mounting brackets (usually included), tape measure, level, and possibly a jigsaw or router for counter cutouts.
Q: Do induction cooktops need special wiring?
A: Most require a dedicated 240 V circuit with a 30–50 A breaker, depending on the model. Always verify the cooktop manual and local electrical codes before installation.
Q: Do I need ventilation after installing induction?
A: While induction cooktops generate less heat than gas, proper ventilation is still recommended—especially if you’re cooking often or with high heat.
📝 Final Take
Installing an induction cooktop is a rewarding weekend project when approached carefully. You’ll enjoy faster cooking, precise temperature control, and a sleeker countertop. Always follow safety guidelines, measure twice before cutting, and don’t hesitate to call a professional for wiring help.
Happy cooking—and congrats on upgrading your kitchen!

Leave a Reply
You must be logged in to post a comment.